
Logo embroidery: how it works and when to use it
Short answer
Logo embroidery stitches your logo into the fabric with thread, for a raised, textured finish that’s hard to wear away. It’s a strong choice for caps, beanies, hoodies, sweatshirts, polos and jackets, and for small chest logos. For fine detail, photographic artwork or thin, stretchy fabrics, a print method usually suits them better.
Technique
- Best for
- Caps, beanies, sweatshirts, polos, jackets
- Limits
- Fine detail, photos, thin or waterproof fabrics
- Artwork
- Vector file and Pantone references
- Care
- Wash inside out, don’t iron the stitching
How logo embroidery works.
Stitch by stitch
Follow one logo from the file to the finished stitch.
An illustrated sample logo shown at four stages: a flat file, a stitch plan with satin outlines and fill areas, the logo being stitched one colour at a time, and the finished, trimmed logo. Toggles show satin and fill stitches, and how fine lines close up as the logo gets smaller.
Finish. Loose threads trimmed, backing cut back, then checked.
Thread: Slightly bolder, because thread has thickness.
- Threads trimmed
- Backing cut back
- Thread sheen
Large. Every line holds.
Digitising
Your logo is turned into a stitch file: a set of commands that tells the machine where each stitch goes, in which direction and in which thread colour. It’s a key step. The same logo can look crisp or clumsy depending on how it’s digitised.
Hooping and backing
The garment is clamped in a hoop, with a backing (a stabiliser) underneath. Most fabrics don’t have enough structure to take thousands of stitches on their own, and the backing stops them puckering or stretching under the needle.
Stitching
A multi-needle machine stitches each colour in turn and changes thread automatically. Underlay stitches go down first to steady the fabric. Satin stitches then form smooth, shiny outlines and lettering, and fill stitches cover larger shapes with texture.
Finishing
Loose threads are trimmed, the backing is torn or cut back, and the piece is checked.
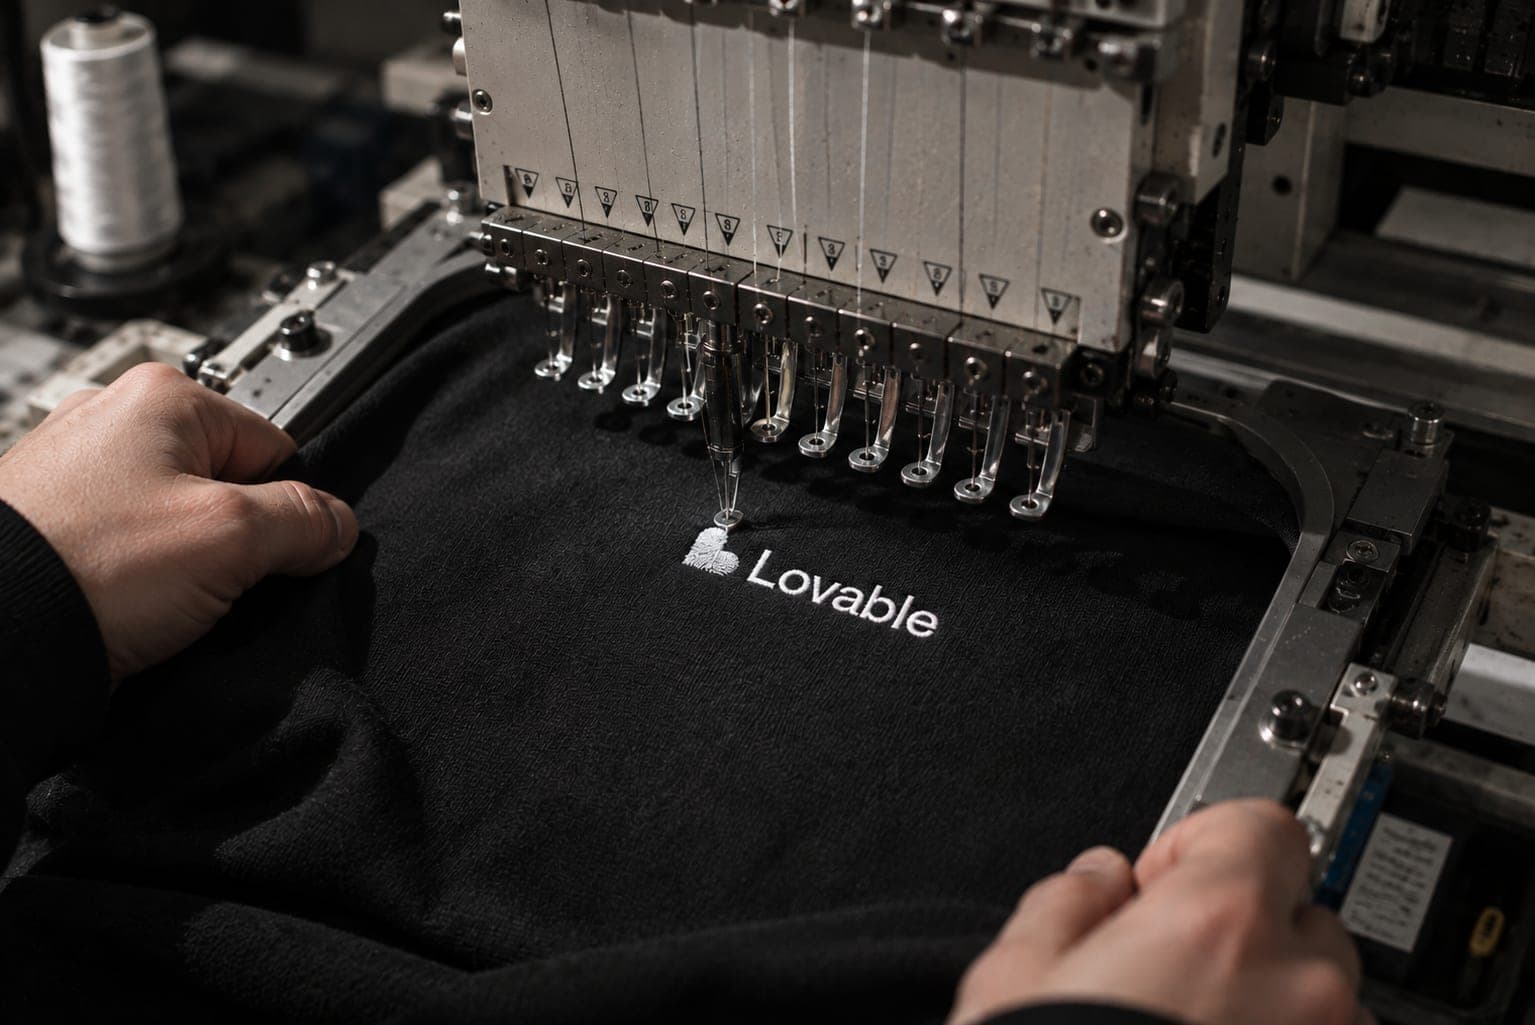
Where it works best.
Caps and beanies. A structured cap front or a knit cuff takes stitching well and shows off the texture. Keep the design inside the small front panel.
See Branded caps
Sweatshirts and hoodies. A small embroidered chest logo reads as a quality piece, and heavier fleece holds dense stitching without pulling.
See Branded hoodies
Jackets and workwear. Sturdy fabrics take embroidery well and it stands up to heavy wear. Check the limits below before you embroider a waterproof shell.
Polos, shirts and knitwear. A small mark on the chest or cuff suits staff and client-facing wear, where a print could look out of place.
Where it has limits.
Fine detail and small text. Thin lines and tiny lettering close up or blur, because thread has thickness. Simplify the logo, drop the strapline, or use a woven patch, which holds finer detail.
Gradients and photographs. Each thread is one solid colour, so it can’t blend smoothly. Screen printing handles bold colour well, and digital print suits photographic artwork.
Thin, stretchy or very light fabrics. Dense stitching can pull and pucker lightweight jersey. Choose a lighter design, move the logo to a heavier area, or print instead.
Waterproof jackets. Every stitch punches a hole in the waterproof layer, and thread can wick water through. A sealing film behind the embroidery helps; a heat-sealed patch avoids piercing the shell at all.
Very large designs. A full back piece takes a very high number of stitches, which adds time, cost and weight. A large back print with an embroidered chest logo is often the better combination.
Artwork that works.
- Send a vector file
- AI, EPS, SVG or PDF with outlined text. If you already have a stitch file (DST or EMB), send that too.
- Give Pantone references
- One for each colour. Thread comes in fixed shades, so the closest match is chosen and shown to you for approval.
- Keep colours few
- Every colour is a thread change. One cap maker allows up to 8 colours for standard embroidery, and fewer usually looks cleaner at chest size.
- Mind the smallest text
- One cap maker asks for letters at least 6 mm (0.25 in) high. Below that, letters fill in.
- Know the space
- One cap maker’s maximum for a structured cap front is about 114 mm wide and 57 mm high (4.5 by 2.25 in).
These are typical industry figures, not fixed limits. We confirm the specification for every order.
What affects the cost.
- Stitch count
- The biggest driver. Larger, denser designs take longer to stitch.
- Digitising
- A one-off set-up for each design and size. Reorders can reuse the file.
- Number of positions
- A chest logo plus a sleeve mark is two separate runs.
- Colours
- Each colour is another thread change on the machine.
- Quantity
- Set-up spreads across more pieces as the order grows.
Need help getting the artwork ready?Design & artwork
Care and durability.
Embroidery is hard-wearing, and a little care keeps it neat.
Care for embroidered pieces
- Wash inside out at the temperature on the garment’s care label.
- Avoid ironing directly over the stitching.
- If a thread is pulled, trim it rather than pulling it out.
Variations worth knowing.
Tonal embroidery. Thread matched to the garment, so the logo shows as texture rather than colour, like the olive-on-olive Sierra University cap below. It suits everyday wear that people choose to put on at the weekend.
3D puff embroidery. Stitches sewn over a foam layer, so the logo stands up from a cap front. It needs large, solid shapes: one cap maker asks for every element to be at least 6 mm (0.25 in) wide.
Embroidered and woven patches. The logo is made separately and sewn or pressed on. A woven patch holds finer detail than direct stitching, and a patch can move across a whole collection.
See Branded patches
Worth knowing
Polyester embroidery thread is made for hard use. One thread maker rates its polyester range for frequent, heavy-duty industrial laundering, with strong resistance to chlorine and bleach.
Source: Madeira UK, “Polyneon embroidery thread”, accessed 6 October 2026.
From our work.
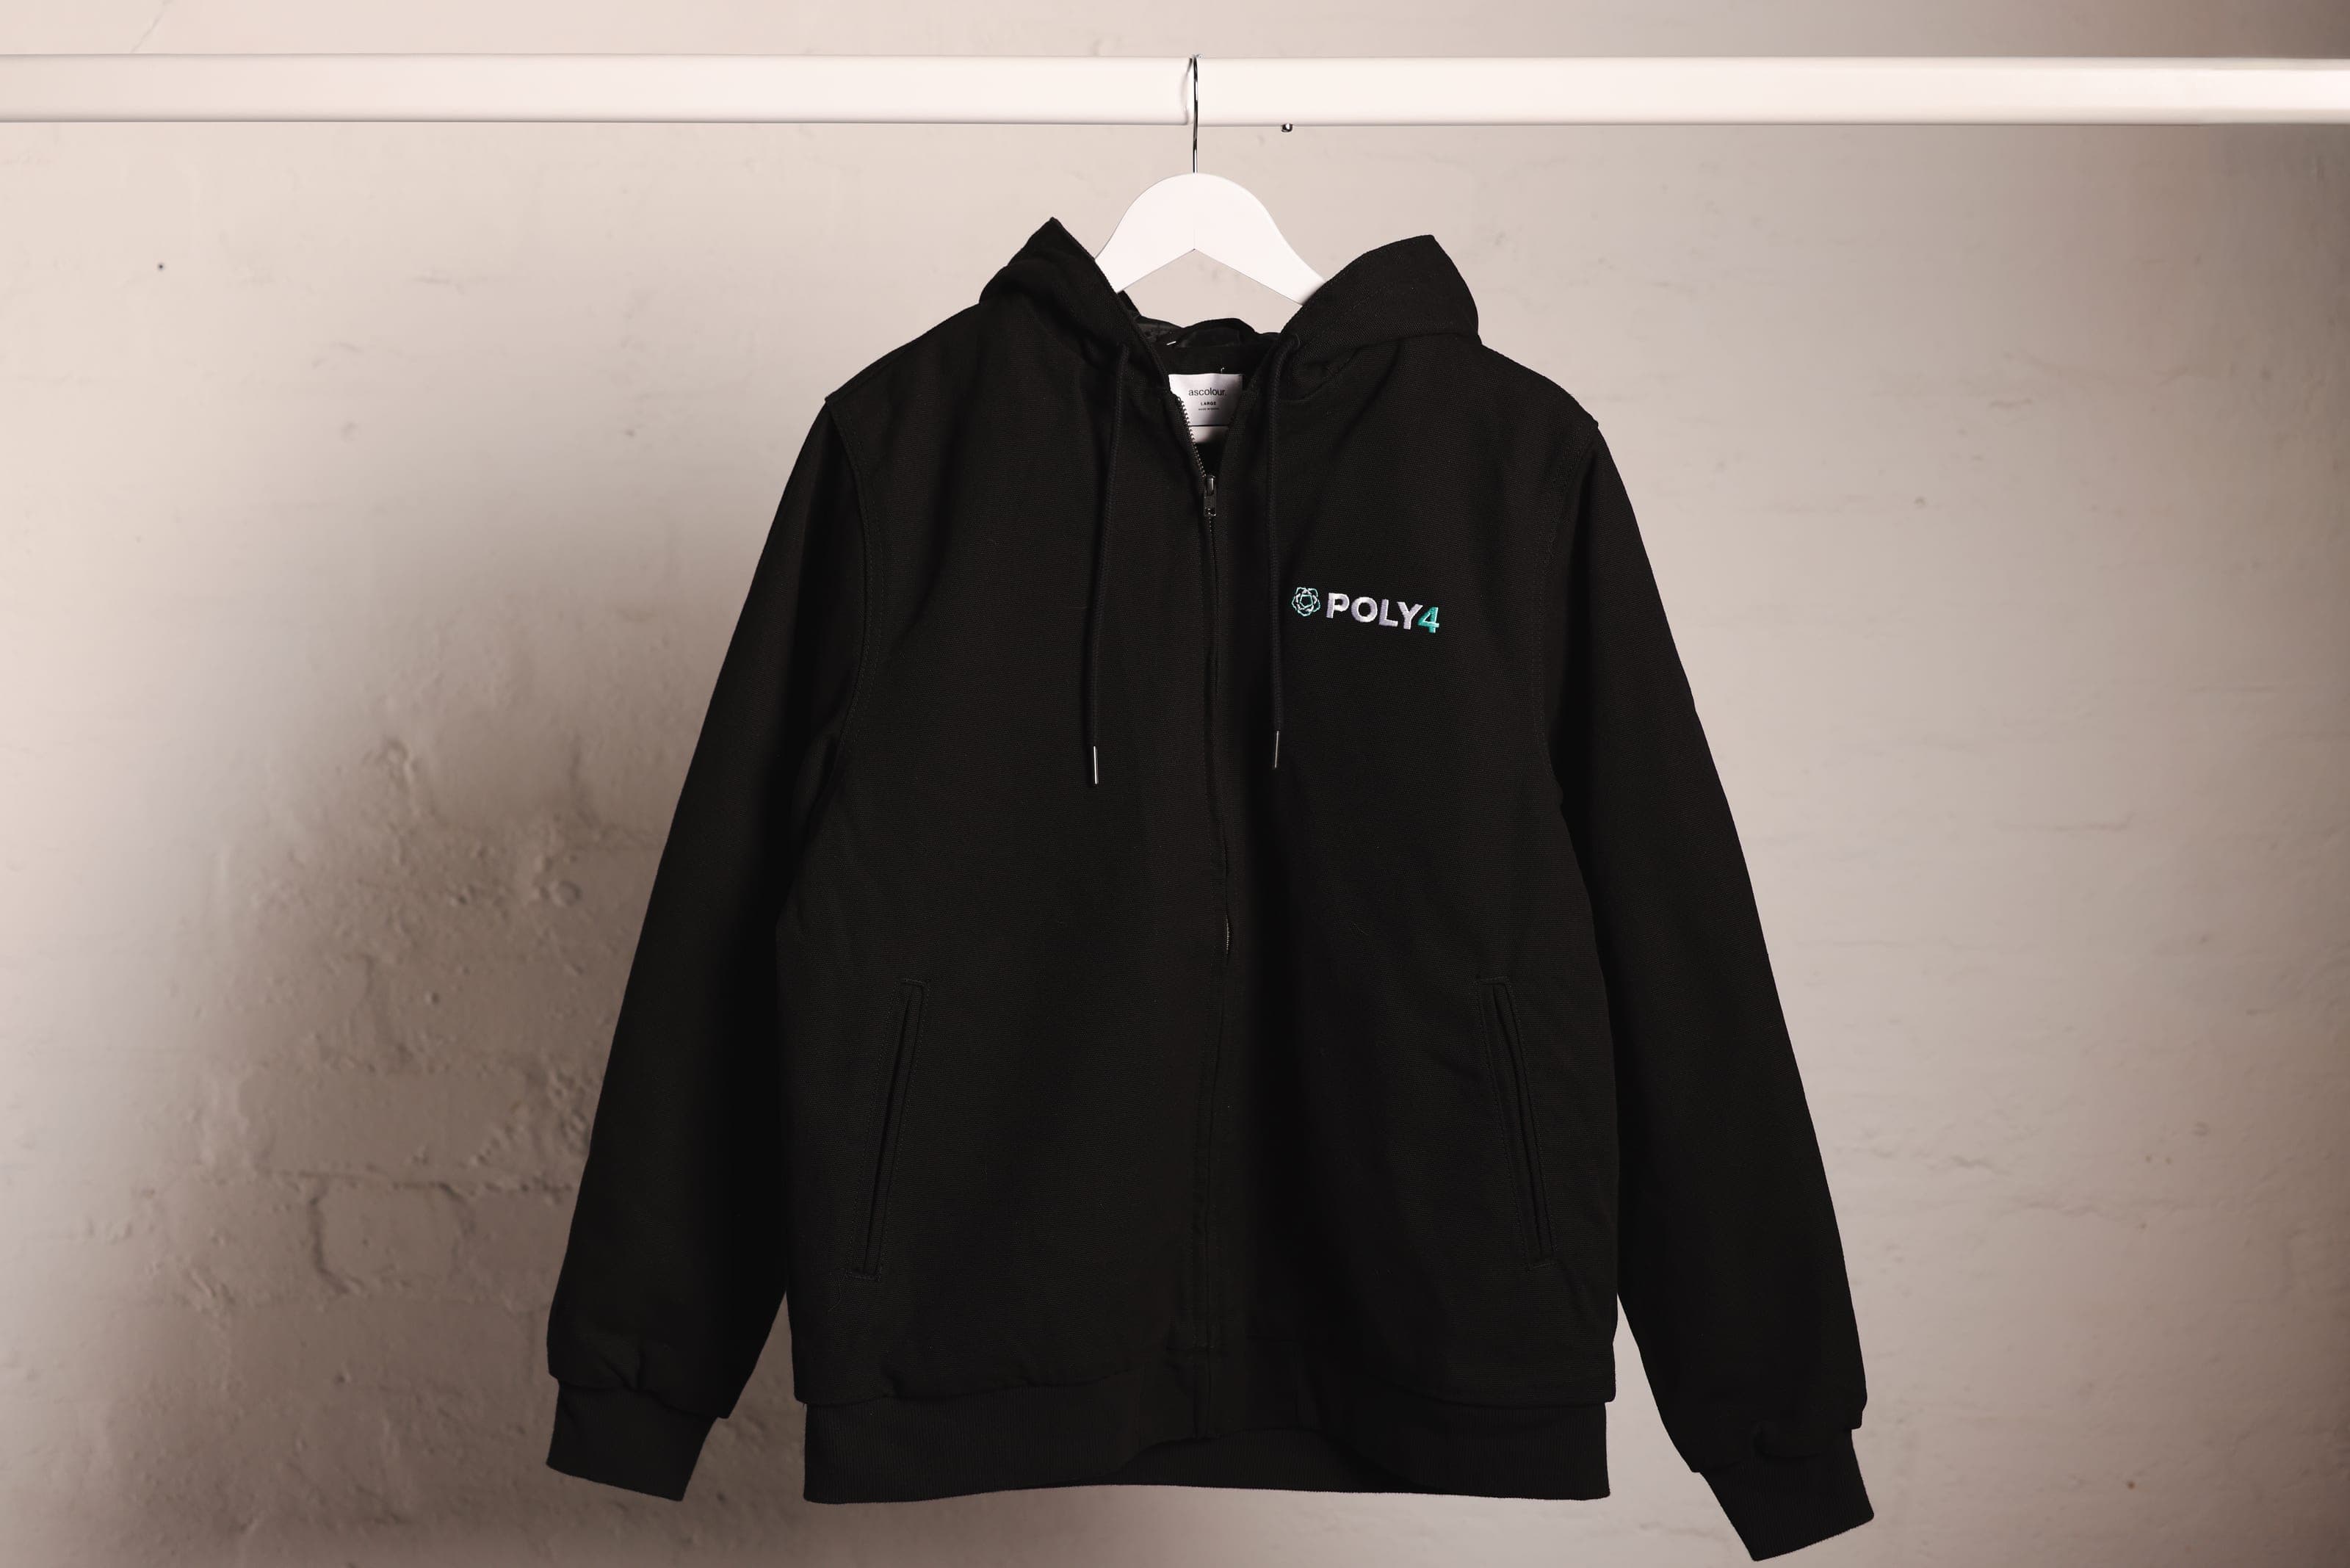
From our work for POLY4: a hooded work jacket 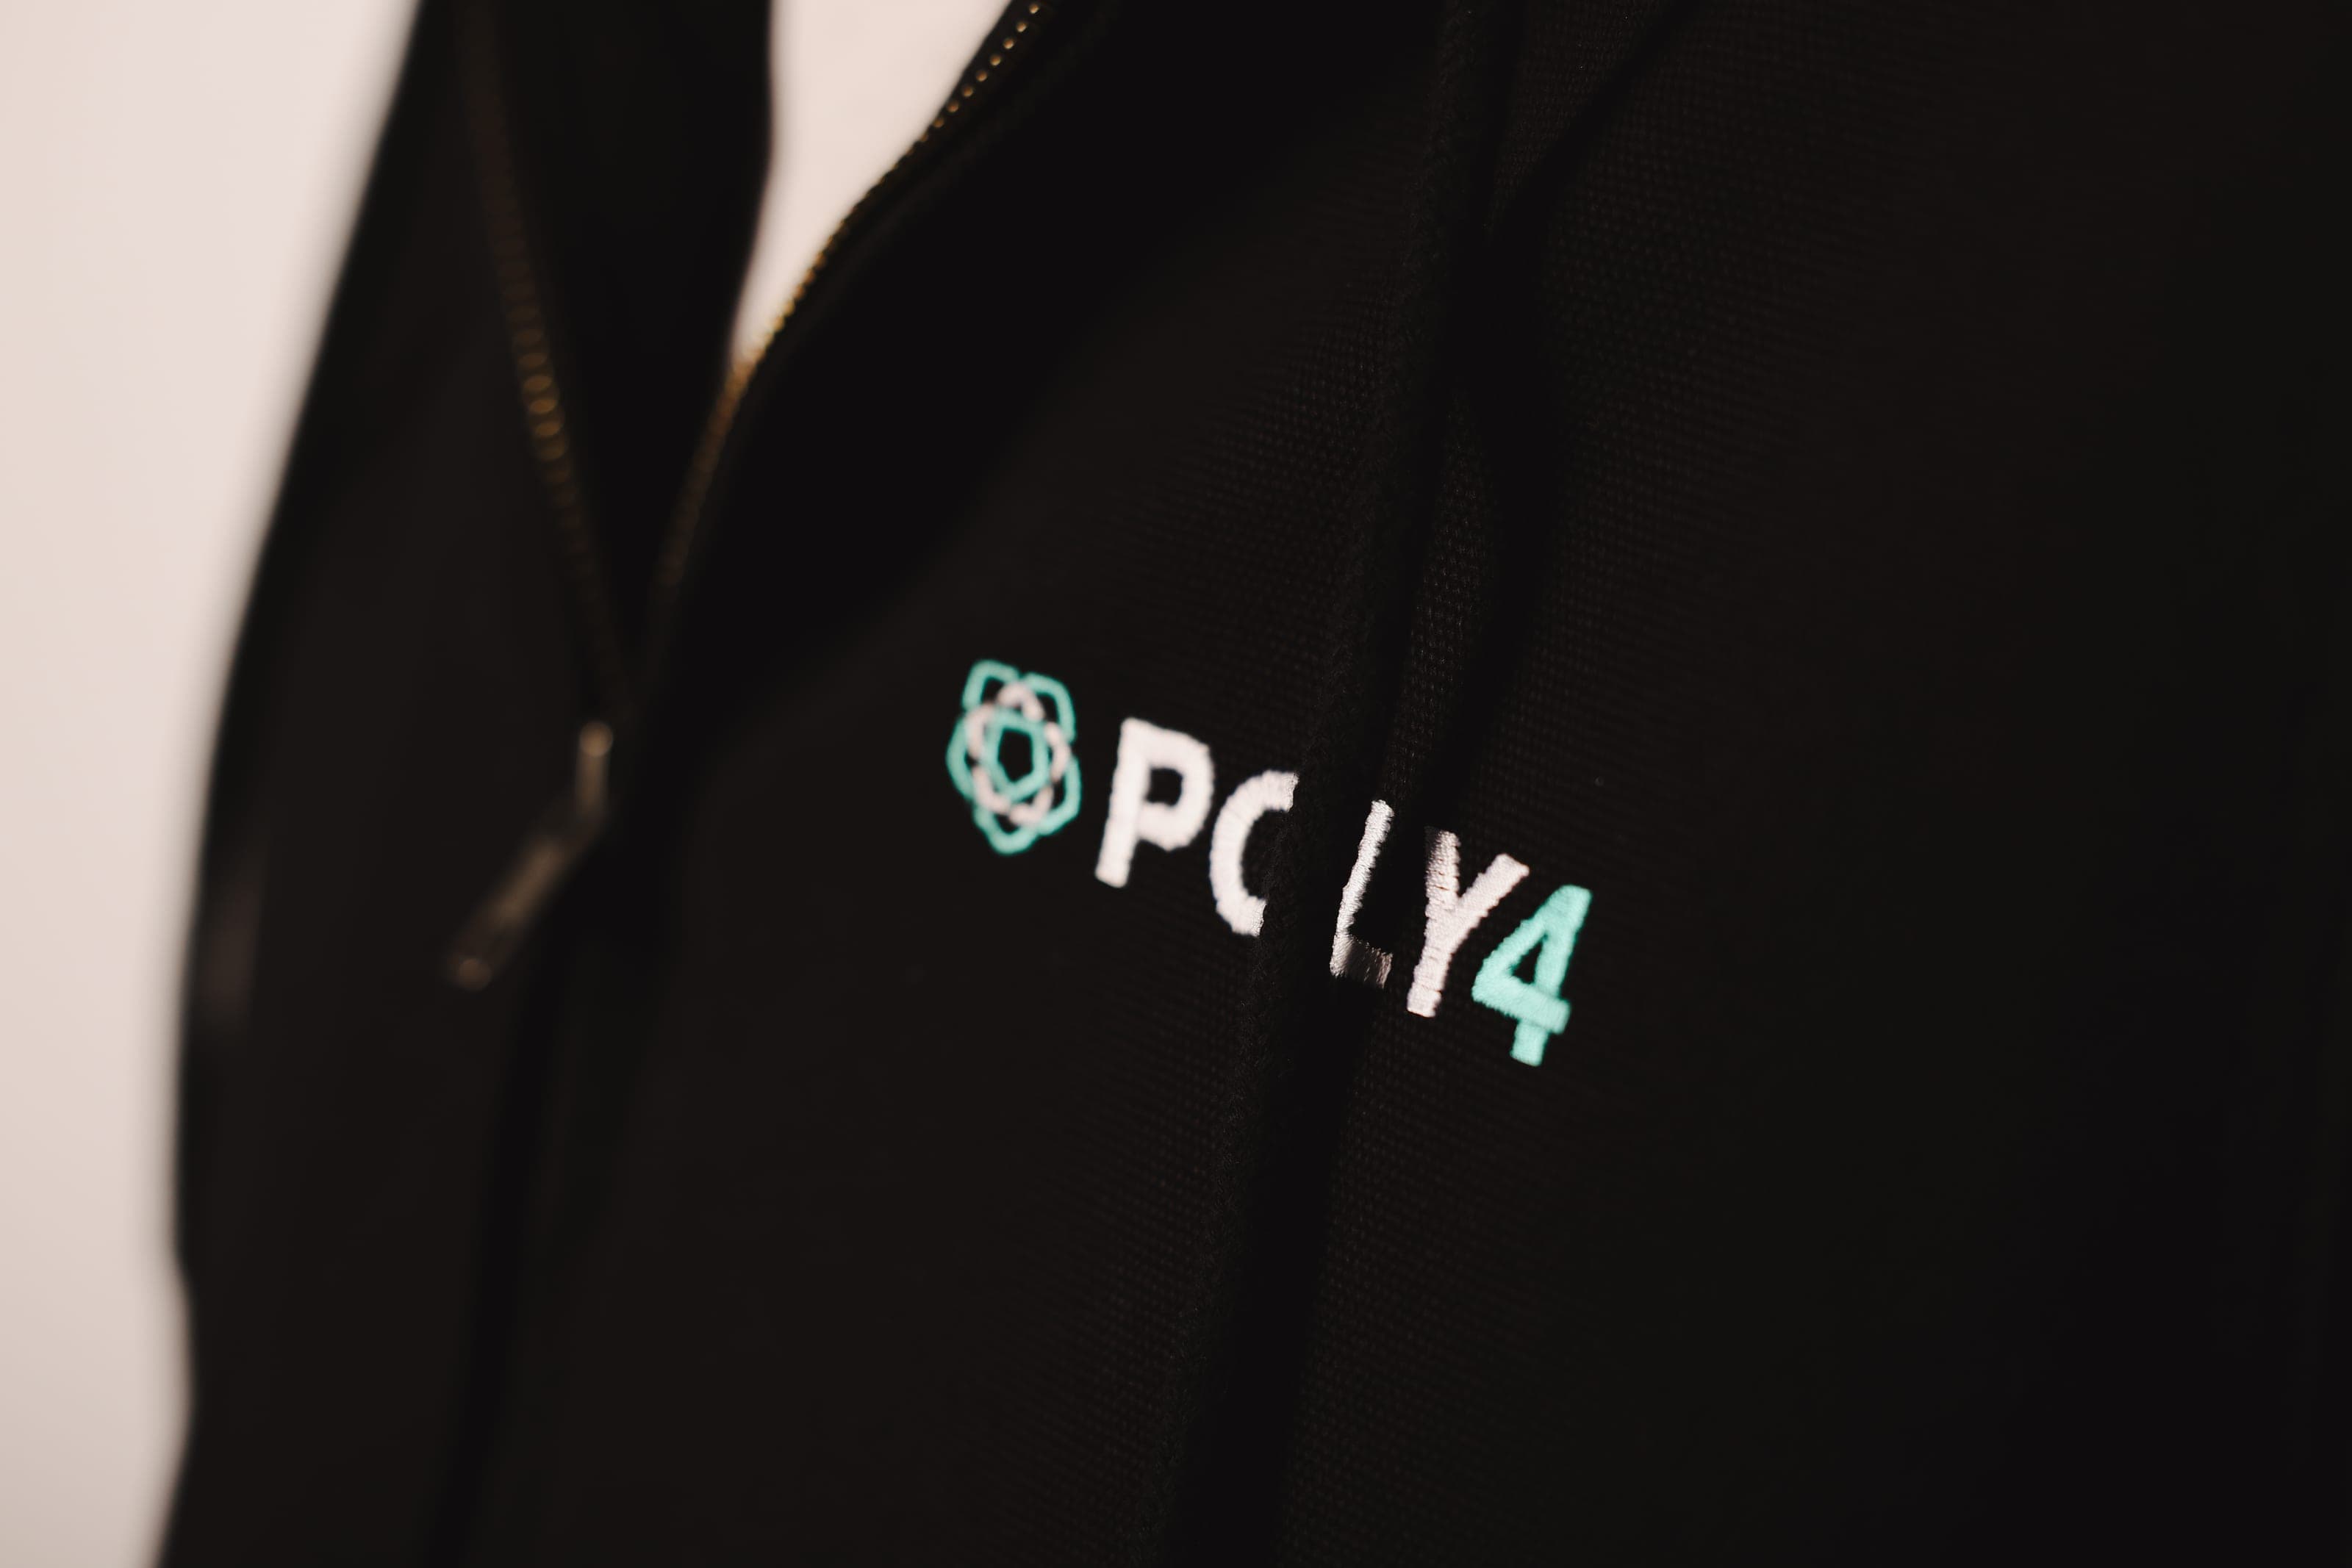
POLY4 · Jacket logo, close up 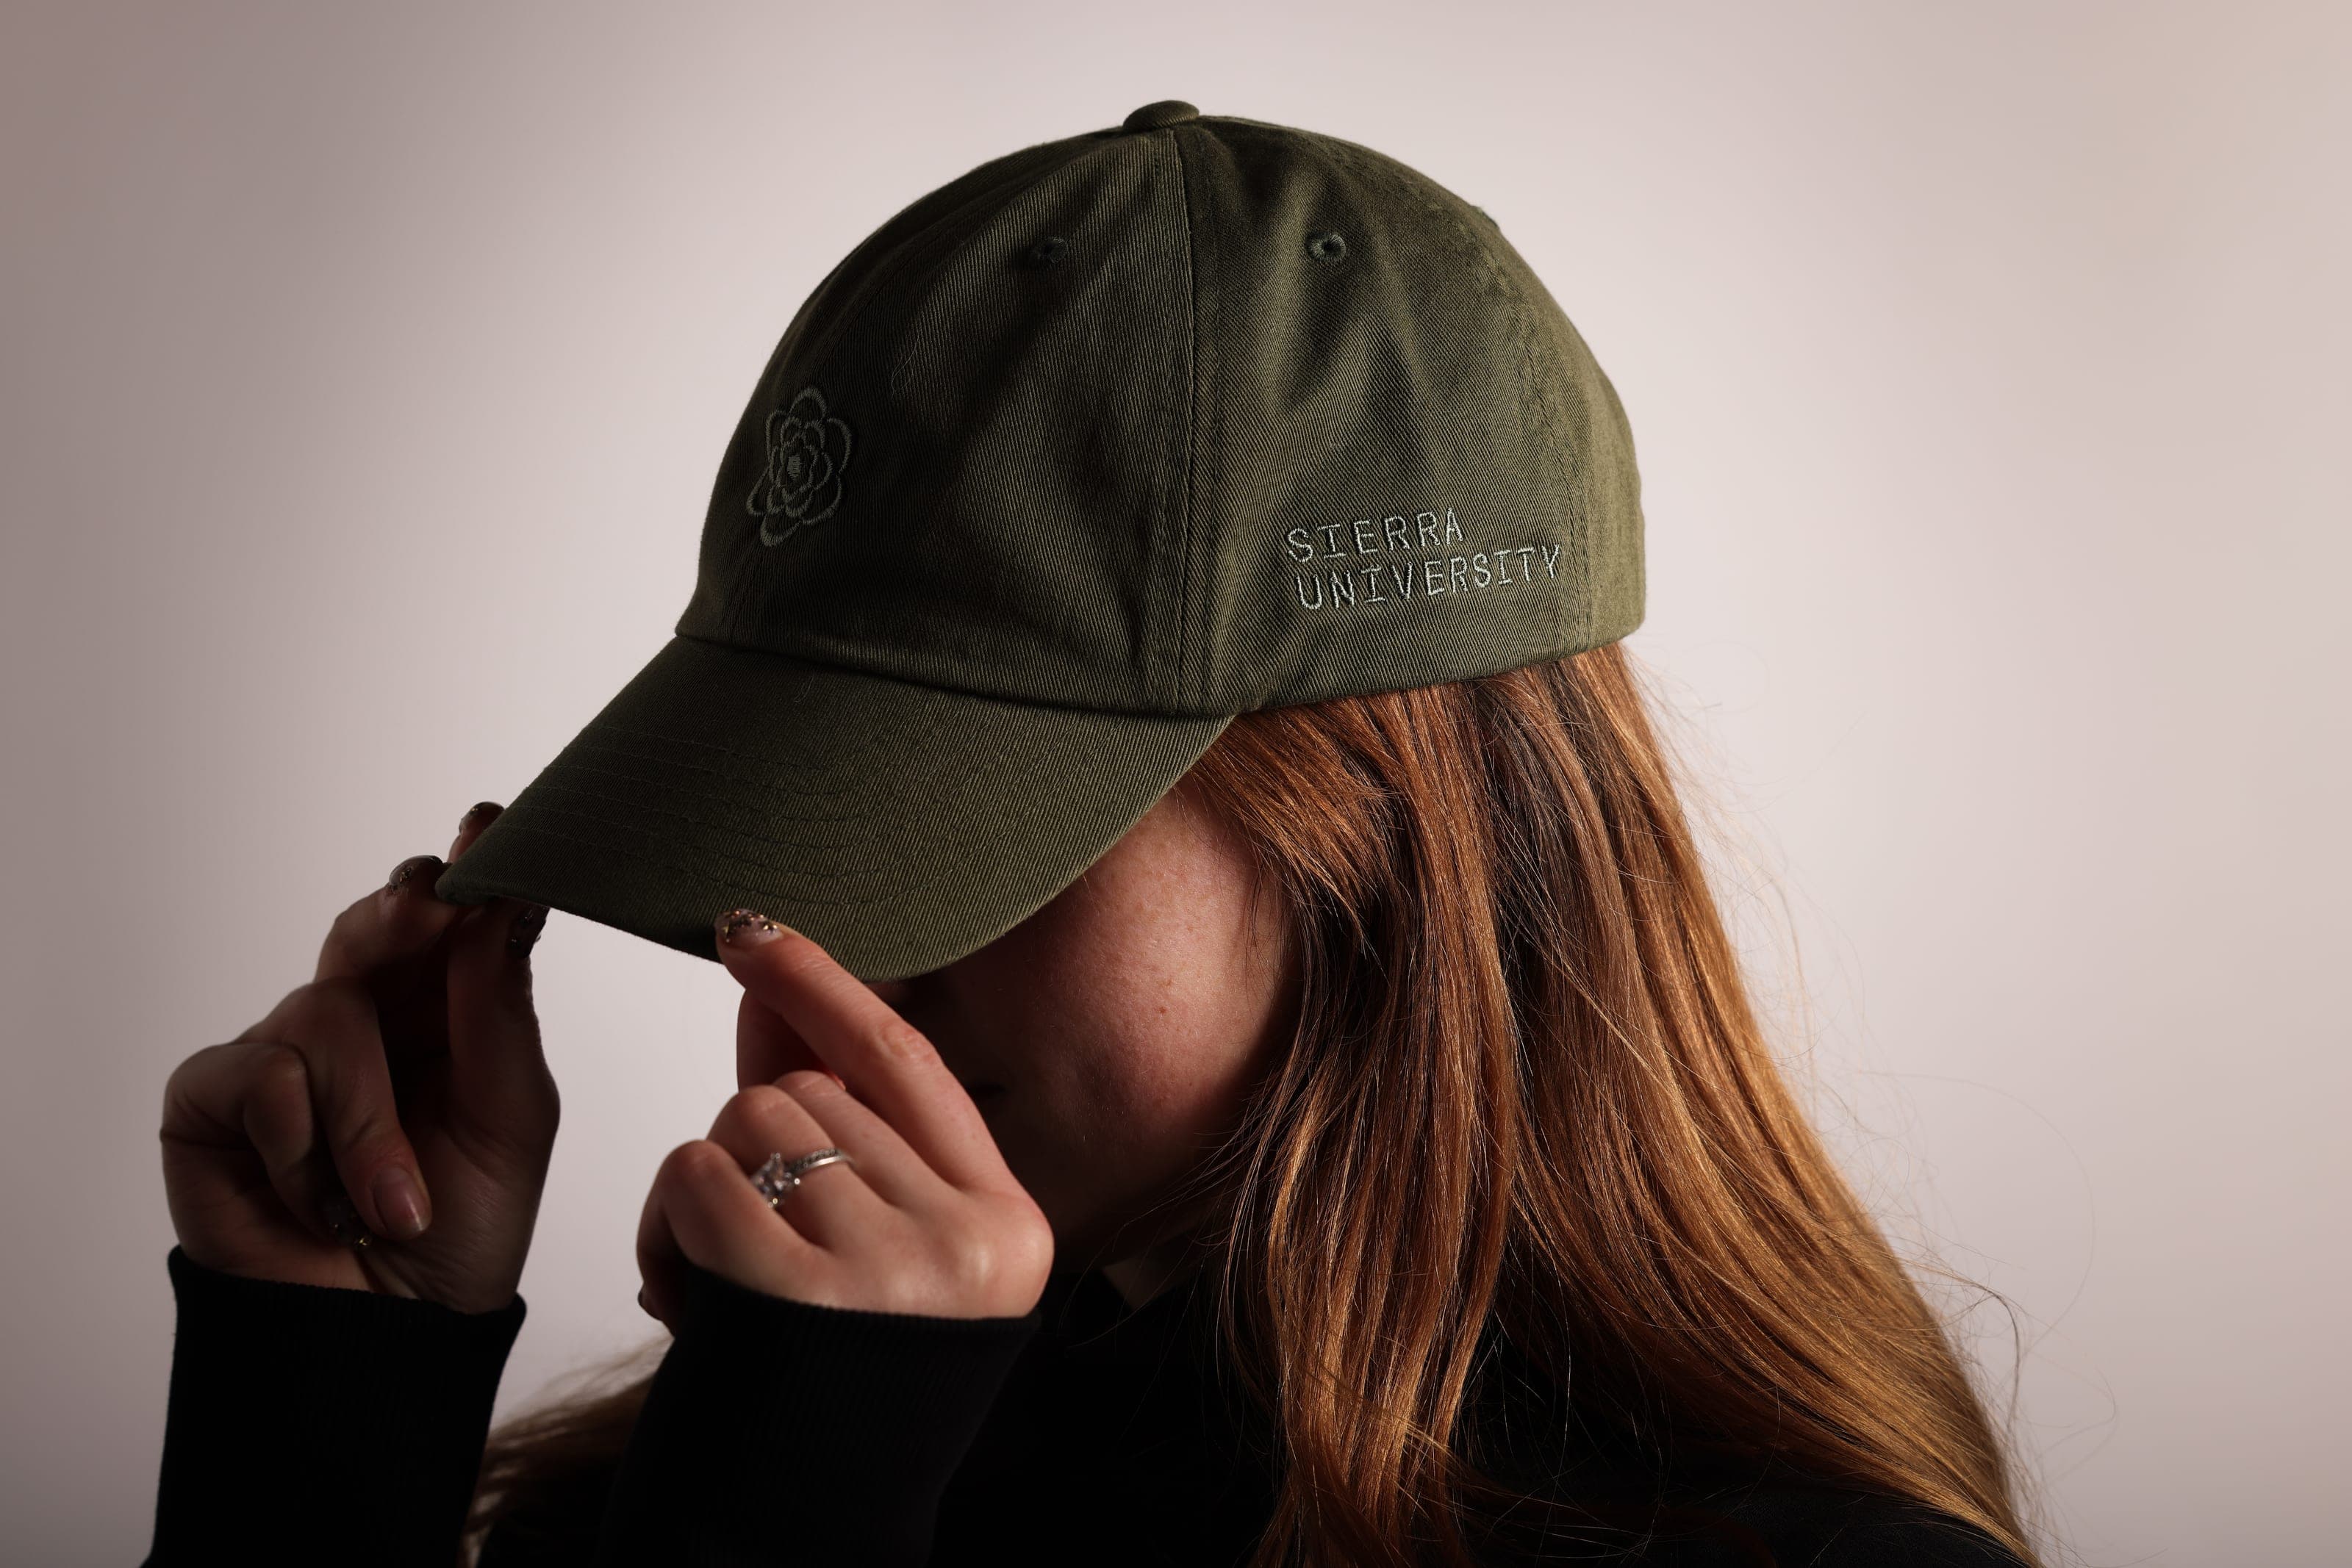
Sierra University · Cap with tonal embroidery
Managed
Planning embroidered swag for your team? Tell us who it’s for.
Planning something bespoke? Explore Studio
Questions about logo embroidery.
What is embroidery?
Embroidery decorates fabric by stitching a design into it with thread. For branded clothing it’s done on multi-needle machines that follow a stitch file made from your logo, so each piece comes out the same. The result is raised and textured, and it doesn’t crack or peel the way some prints can.
Can you embroider a waterproof jacket?
Yes, but each stitch pierces the waterproof layer and the thread can draw water through. Decorators often add a sealing film behind the design, or use a heat-sealed patch instead so the shell isn’t pierced at all.
What file do you need for logo embroidery?
A vector file (AI, EPS, SVG or PDF with outlined text) and a Pantone reference for each colour. The file is digitised into a stitch file and checked before the full run. A clean, high-resolution image can also work. We confirm what’s needed for every order.
What is embroidery digitising?
Digitising turns a flat logo into commands an embroidery machine can follow: the order of colours, the type and direction of every stitch, and how dense each area is. A well-digitised file keeps small shapes crisp and stops the fabric puckering. It’s made once for each design and size, and can be reused.
How long does an embroidered order take?
A typical managed order takes 3–4 weeks from brief to delivery, and samples usually take 1–2 weeks. Timings vary by order, so we confirm them once we know the garments, the quantity and where they’re going.
Want us to handle it?
Tell us who you are sending to and what you have in mind. We’ll help connect the products, the packaging and the delivery plan.
Or call 0800 118 4047 or email hello@goswag.com.